
Here are a number of photos from various work sessions on the SquatchCopter:

Another view of the brain (just look at how shiny it is!)

Our 1-axis testing setup in all its glory

A view of our brain and our IMU. Things (from the bottom up) are: base plate, wooden thing for holding IMU, moongel (low freq. vibrations), aeronautical gel stuff from online, Razor 9DOF IMU, Beaglebone Black, homemade Beaglebone Black shield

The functional copter, ready for liftoff (at least a brief one).

Closer view of the copter center
Older, “duct-taped” version-

Here is a view of the motor arm assembly of the SquatchCopter. The arm itself was designed by Benjamin and 3D printed. This arm is Rev2, when we added a pivot point in the last three holes.

A view of the bottom of the SquatchCopter. We have the battery mounted on the bottom, as well as having the “wire-spiders” for power distribution.
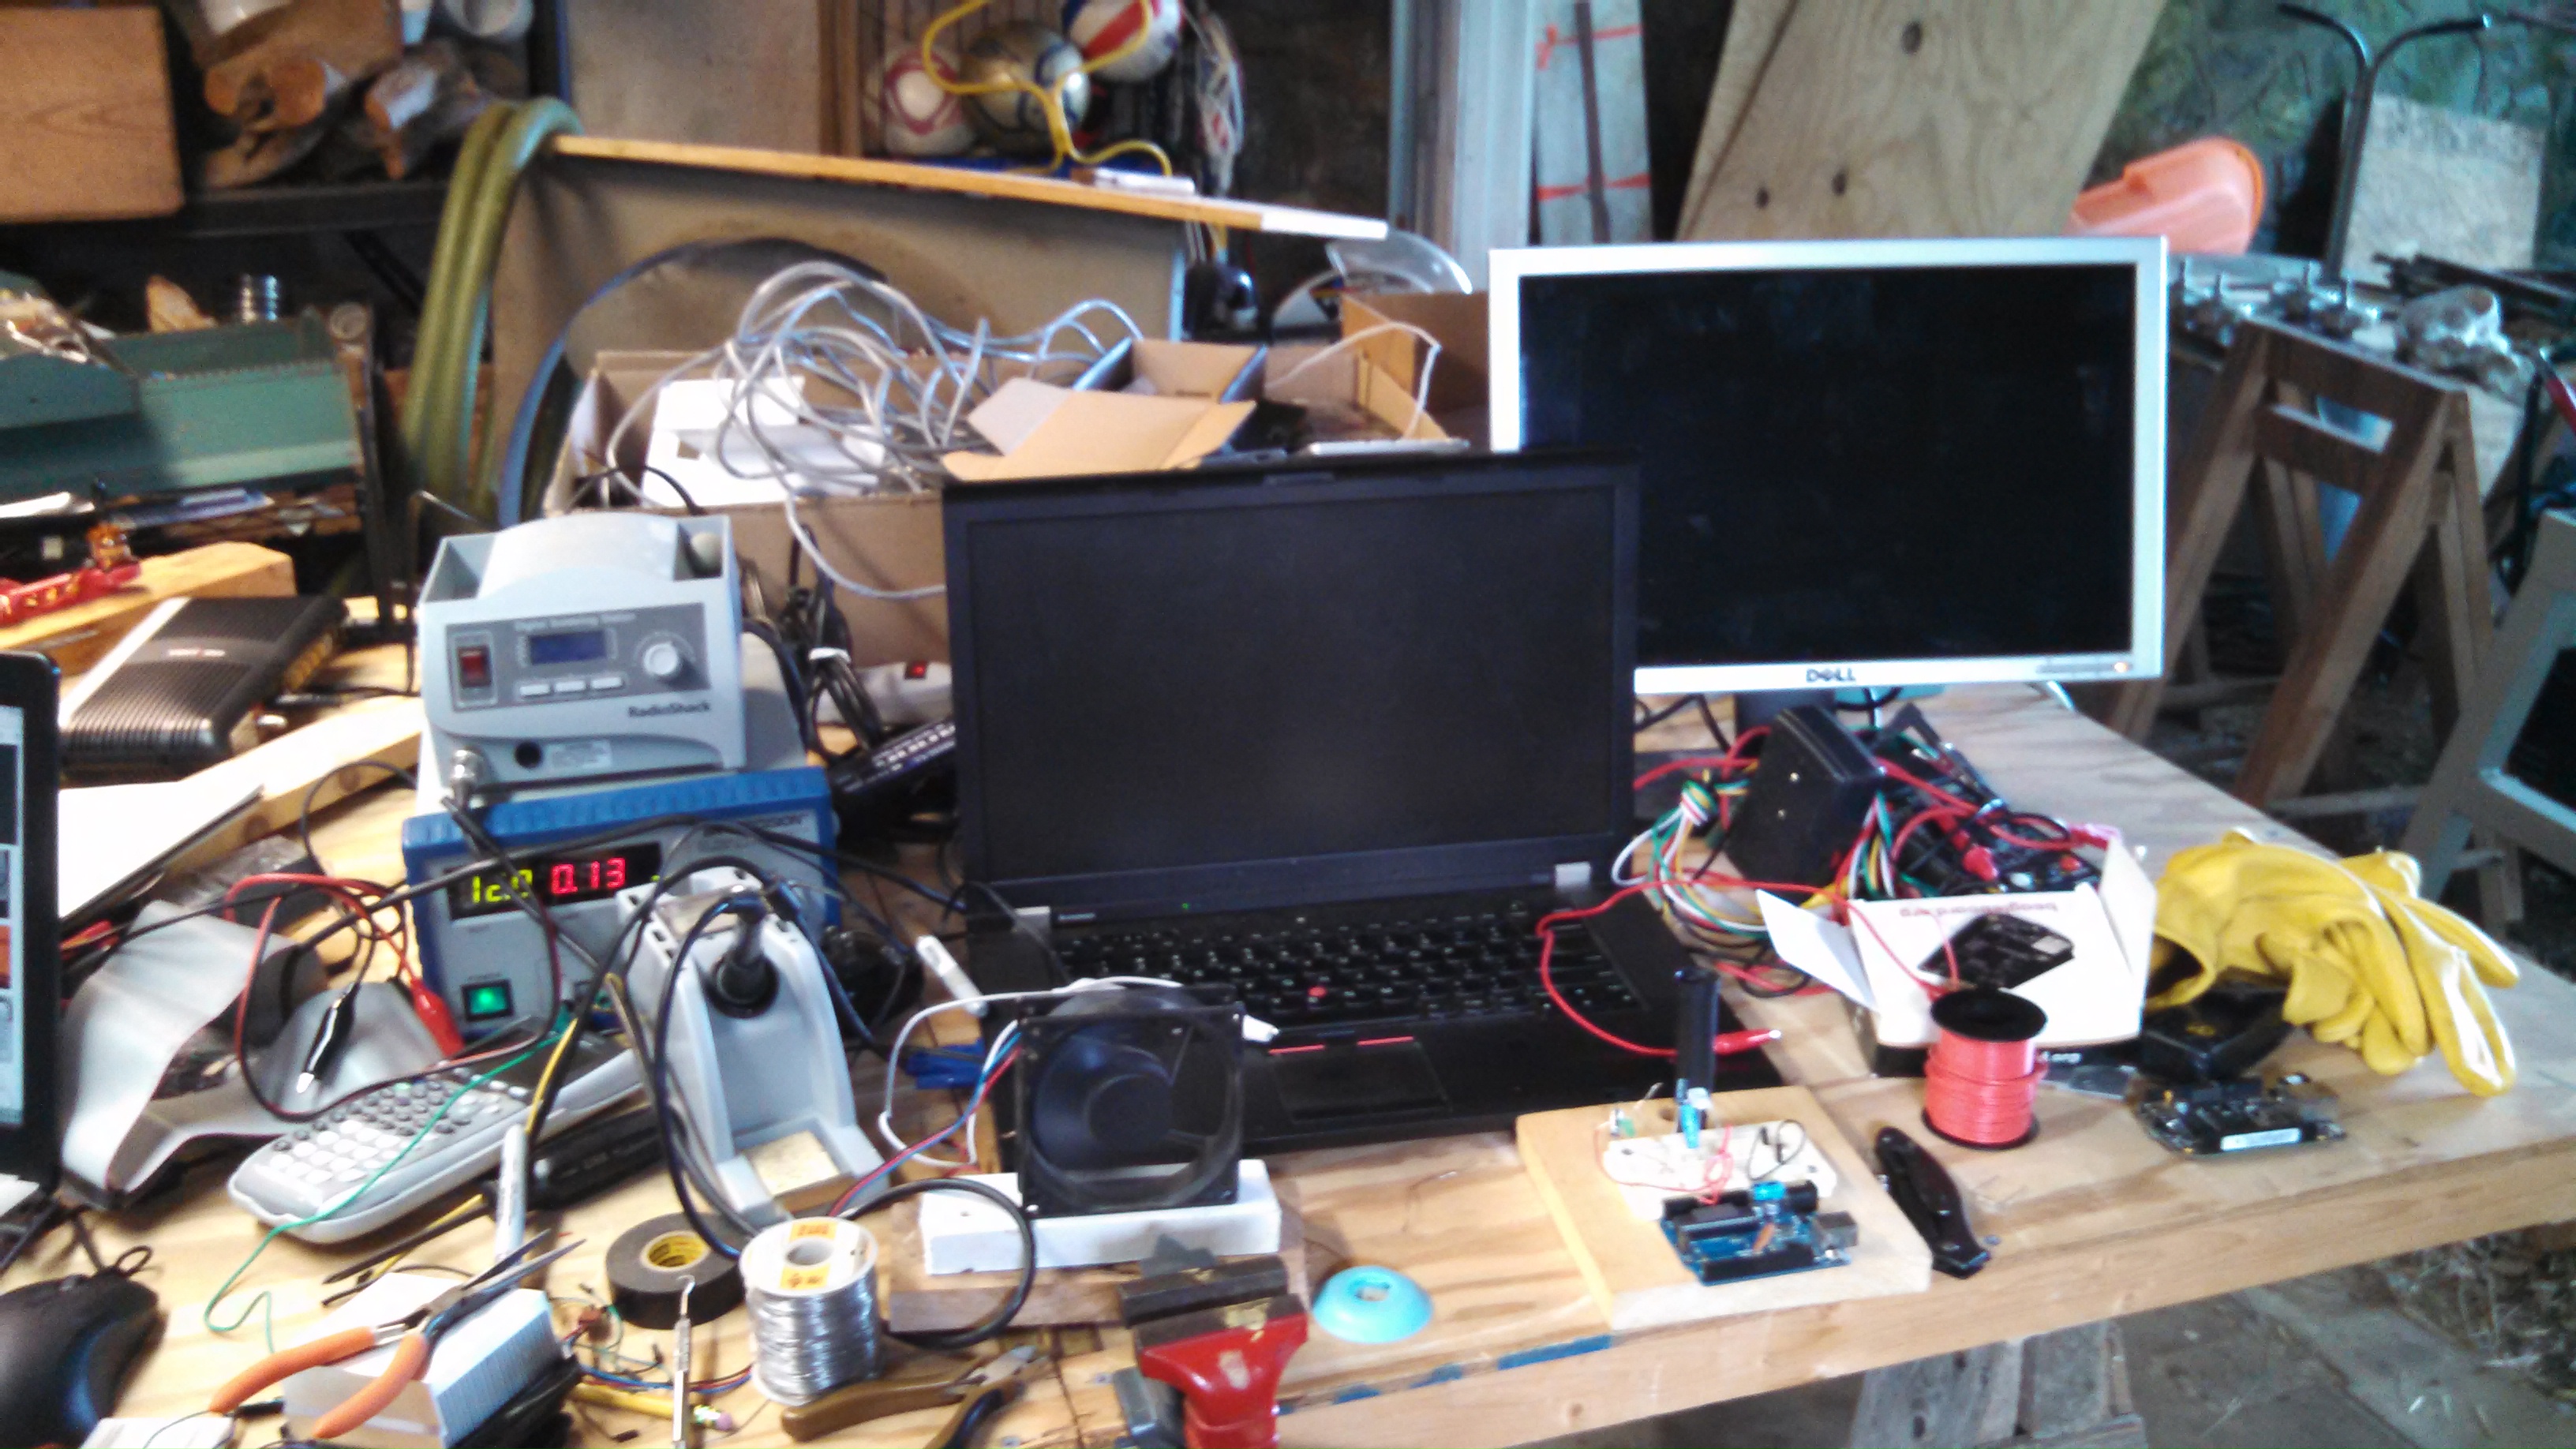
This was our workstation set up in Benjamin’s basement to work at over the summer.

Tony holding the SquatchCopter during one of our early tests. Note that the three closest props are spinning up.

The cape for the BeagleBone Black with a newly added power supply.

Here’s a side view of the cape on the BeagleBone Black.
